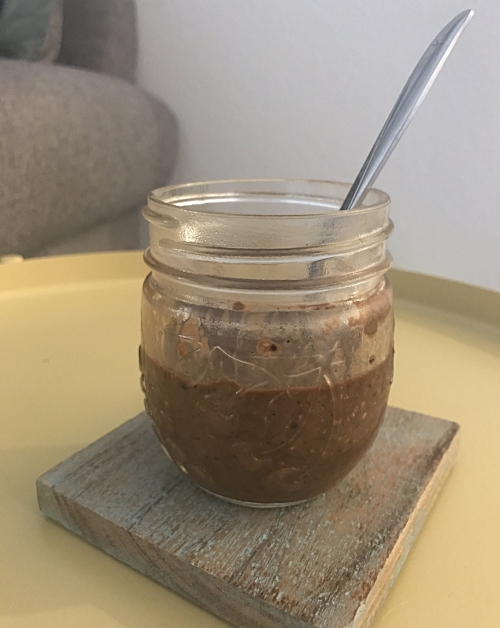
I already told you last week that chia pudding is my favorite sweet snack at the moment, but pair it with one of my favorite energy boosters & you've got yourself some raw B Strong energy in a jar!! And with that I introduce you to my Matcha Chia Pudding:

There's something about the matcha, cashew combo I'm obsessed with, but throw any toppings you'd like on there. Shredded coconut is also bomb, btw ;-)
What's Matcha?
Matcha is a powdered green tea. One serving contains 10x the nutritional benefits of a single serving of regular brewed green tea. It contains more caffeine than brewed green tea, but it's amino acid, [the building blocks of protein], content slow the release of caffeine into your blood stream. The gently energizing caffeine, paired with the mind-easing properties of matcha make for a calm, yet alert state of mind that Buddhists have long relied on for their meditation practices.
Why Matcha?
When you consume matcha, you're consuming the entire green tea leaf, rather than just the water the tea was brewed in, which is why the health benefits are substantially higher when you choose matcha over brewed green tea. Matcha has over 100x the antioxidant content of brewed green tea! There are also claims, which I'm sure you've heard, that green tea can boost your metabolism, help detoxify your body & may improve your cholesterol & blood sugar levels. I use it purely for the relaxed & alert mindset it brings me - if any of the other benefits are true for me, that's an added bonus!
Ok, let's get onto the recipe!
As I noted last week, I make individual servings in separate, small mason jars, but if you'd prefer to make multiple servings all in a single bowl or large mason jar go for it! That being said, this recipe is for a single serving, so if you do plan to make multiple servings, multiply the ingredients by however many servings you're looking to make. Also, I tend to keep my serving size fairly small, [I'd say around 1/3c], because I make it in a small mason jar & want to be sure I have plenty of room to add all the tasty & nutritious toppings, [like berries & nuts], I want!
Ingredients:
- 1/8c chia seeds
- [Optional] 1/2 scoop collagen peptides protein powder [I use Vital Proteins Unflavored]
- 1 tsp matcha powder [I LOVE Gotcha Matcha from Match Source]
- [Optional] 1 Tbsp ground flaxseed
- 1 Tbsp raw honey [you can totally use any sweetener you prefer]
- 1/4c milk [I use The New Barn Unsweeted Vanilla Almond Milk]
Directions:
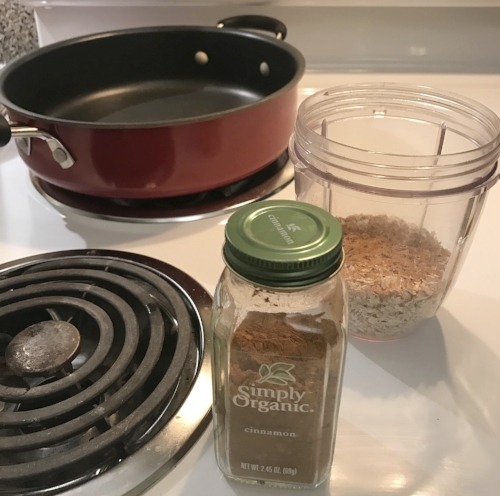
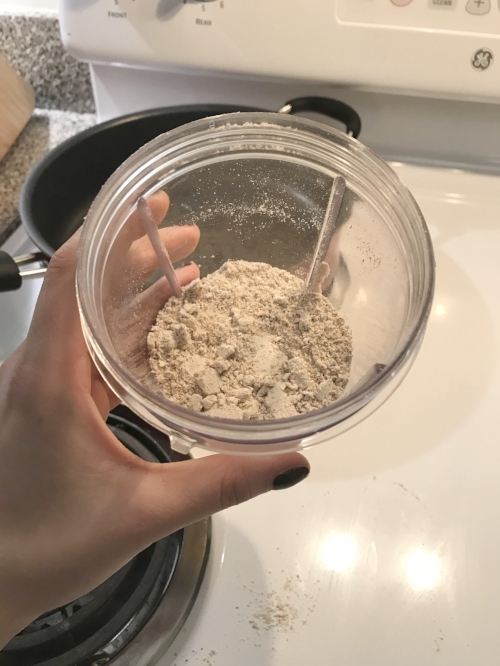
- Pile all these ingredients, in any order you like, into a mason jar or bowl
- Use a whisk or spoon to mix it all up - [or, if you're using a mason jar, just put the cover on tight & shake it like a maraca!]
- Top with any fruit or nuts you find enticing - I highly recommend cashews with this recipe - & enjoy!!
- Refrigerate for a minimum of 4 hours [be sure to check out my "Expert Tip" I shared in my Mocha Chia Pudding Recipe here!]
How did you like EATING your tea?! Groundbreaking right?! Be sure to show off your creations & tell me what toppings you loved to add on your treat on FB/IG/TW. Oh & don't forget to tag me so I can see!! [Remember it's @cassiebstrong.]
B Well,
Cassie B.