Day 4 is on a new level!! Get ready to get sweaty!! [LOL]
Here's what's on the docket:
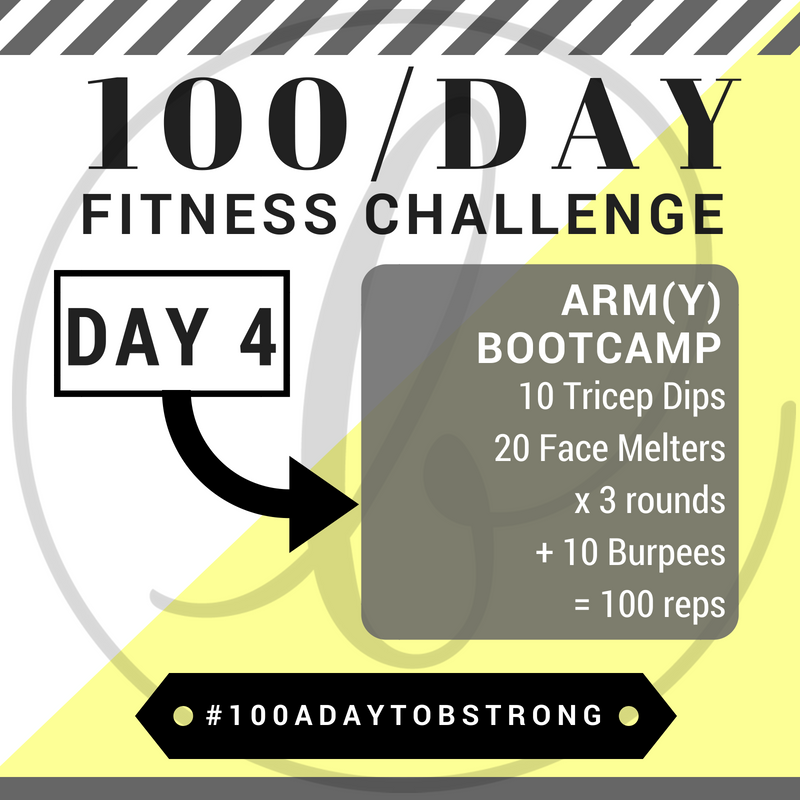
- Tricep Dips: work the back of our arms - our triceps - which also happen to be the largest muscle group in our arms! Why is that important? Want to build definition in your arms quickly [ahem, #sweatingforthewedding ;-)]? Better show your triceps some action 2-3x a week! Bent knees is easier, straight legs is more challenging. Be sure your to engage your lats, [I wrote all about this on yesterday’s post about avoiding neck pain during ab workouts!], & keep your elbows from bowing out to the sides as you bend & lower - keep them tucked beside your body so that they’re stacked over your wrists at all times!
- Face melters: work your abdominals of course, but also get your shoulders BURNING from stabilizing a plank where your feet are elevated - but the burn is SO good! Again, keep your lats engaged - super challenging because your shoulders get so tired - but also isolate your legs! Try to keep your hips in the same are in space through the entire set - don’t let them rise & fall like your feet are!
- Burpees: get that <3 pumpin ‘cause you’re jumpin! While the push-up is optional, the proper form isn’t: 1. when you jump your feet back to a plank, don’t let your lower back arch so your hips sag toward the ground! 2. when you jump your feet forward, land in a gorilla squat: both feet land just outside of their respective hand *with the soles of your feet completely flat on the ground* - landing on just your toes is not amazing for your knees. Move as slowly as is necessary to keep your form in check ;-)
Now there is a TON of plank action today, so if your wrists aren’t thrilled about it, keep reading to learn about how to prevent irritation!
- It’s all about alignment, baby ;-) When you’re in a plank, you should have a straight line from your shoulders to your elbows to your wrists... as well as from your shoulders to your hips to your heels. When those straight lines become curvy, your wrists will let you know immediately - LOL! One of the worst ones I see with exercises like mountain climbers & face melters is the shoulders moving forward & ahead of the wrists. This is bending them backward! OUCH! So when you’re moving in a plank, be sure to stay static - move in place.
- Engage your *whole* hand! Oftentimes, without even realizing, people will create a ton of torque in their wrist joint because they sit all the weight they’re holding up in the heels of their palms... like when you’re super fatigued & practically clawing your fingertips into the floor out of pure desperation hahaaa... So, intentionally press your entire palm & the ends of your fingers into the ground to engage the muscles that stabilize your wrists.
- Do it with your hands on a flat, hard surface. For some of us, the cushioning of a mat/rug may work against us when it comes to keeping our wrists properly stabilized. Go ahead & keep your knees over the mat, but walk your hands forward so that they’re on the flat, hard floor.
If these tips aren’t helping when you’re doing push-ups, go back to Day 2 to learn about how to maintain proper alignment specifically for the push-up ;-)
Hope that helps, fam!! <3